Verified PayPal means a valid PAN card, verified bank account and a purpose code. A step by step guide to verify an Indian PayPal Account

I prefer to use the payment method my clients prefer and where he or she is comfortable paying and for over a decade, I have seen PayPal has been the preferred choice of most of my clients. So when your clients’ choice of payment method is PayPal, as an Indian freelancer, it is imperative to have an Indian PayPal Account.
It is the oldest, most trusted, safe and secure, easy to use and affordable (forex rates can be made better) way to receive payments from clients.
Norms of registration and verification of PayPal differ from country to country. Indian freelancers require a verified PayPal Account to receive payment through PayPal.
Verified PayPal account means a valid PAN card, a valid bank account and verify the bank account as well. So here is a step by step guide to register and verify your new PayPal Account.
Registration And Verification Process For Indian PayPal Account
There are 3 steps to this process:
- Create an Indian PayPal Account
- Adding PAN, Purpose Code and Bank Details.
- Bank Verification
Before we proceed, you need to have three things in hand while to plan for registering your account. A personal email address, PAN (Permanent Account Number) Card and a bank account.
You can register with any of your email addresses. Keep your Gmail address on PayPal as Gmail has some special spam and phishing prevention for PayPal, and so you will not find PayPal phishing messages in your Gmail inbox.
If you don’t have a PAN you can apply online on the government website of India.gov.in. You can also apply for it on any Govt. authorized offices. As per the RBI rules, your bank account should be integrated with your PAN.
Let us step through the process in detail.
1. Creating An Indian PayPal Account
Open PayPal.com and below screen will appear.
On the right-hand side, you will find “Log In” and “Sign Up” buttons.
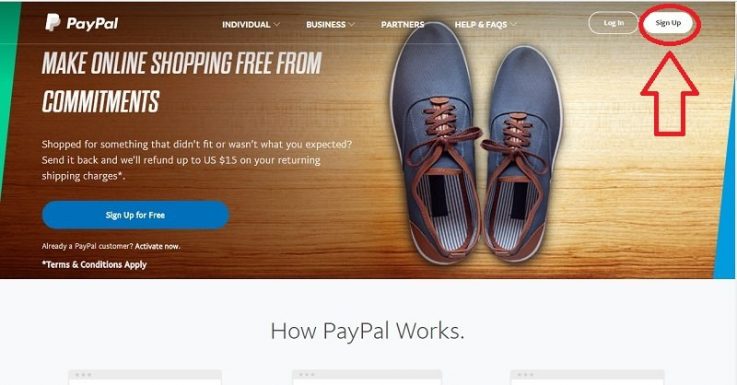
When you click on the “Sign Up” button, the next screen will have options to select the type of PayPal account. There are two types of PayPal account; an Individual account and a Business account.
With an Individual account, you can shop, send and receive overseas payments without sharing your financial information.
Whereas with a Business account you can accept credit/debit cards payment and send invoices to your overseas customers.
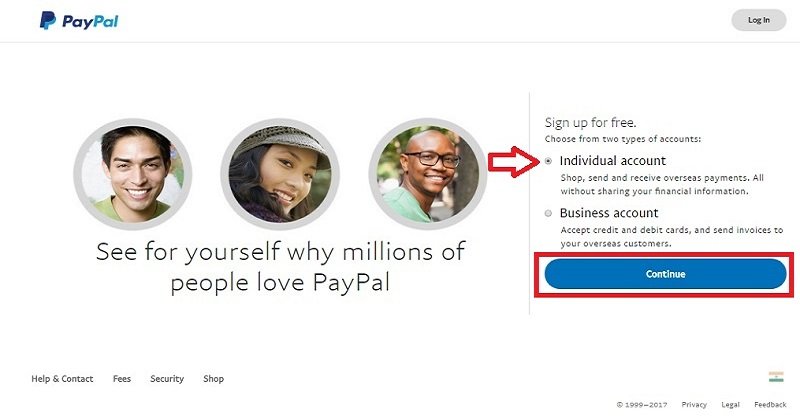
Select an Individual account and click “Continue”.
By default, the default country will be India. If it does not display India, select it from the list.
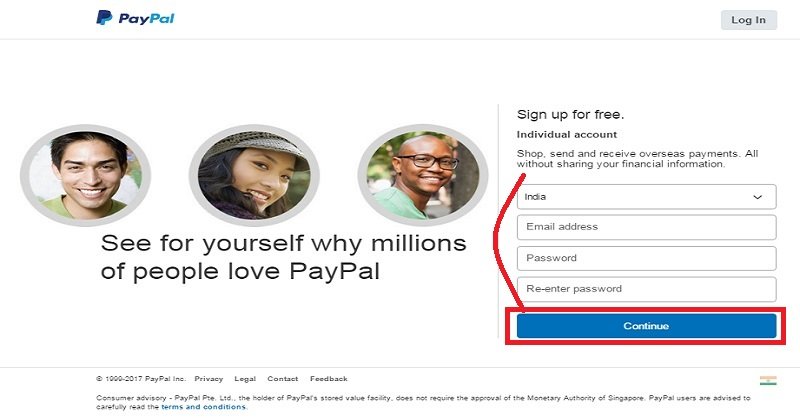
Enter your email address and your desired password.
On the next screen enter your personal details like name, date of birth, address, mobile number etc. Please ensure you enter the details as appearing on your PAN Card.
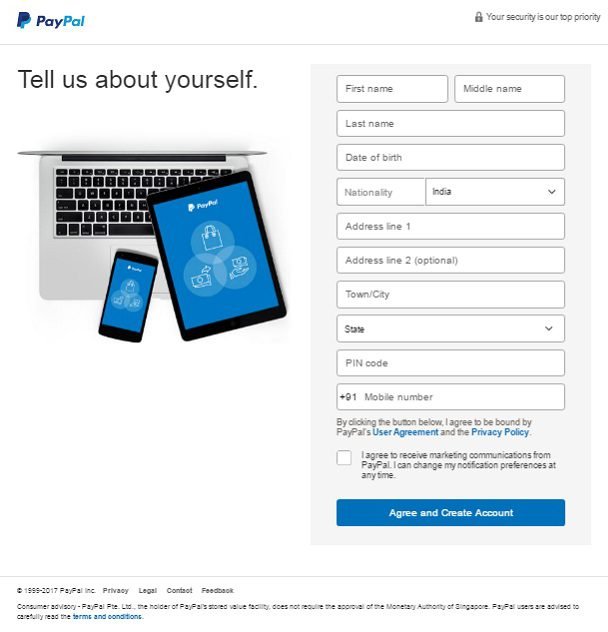
Check the box to accept the term and conditions. Click on the “Agree and Create Account” button below the checkbox.
The below welcome screen appears as your account gets created.

2. Adding PAN, Default Purpose Code And Bank Details
After you enter your personal details, on the next page you can link your Debit/Credit Card or you can skip it for later.
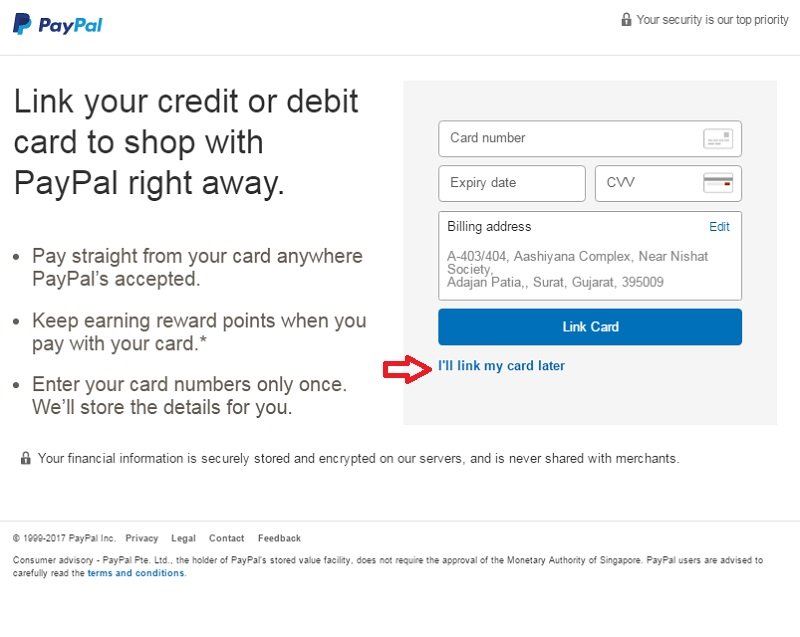
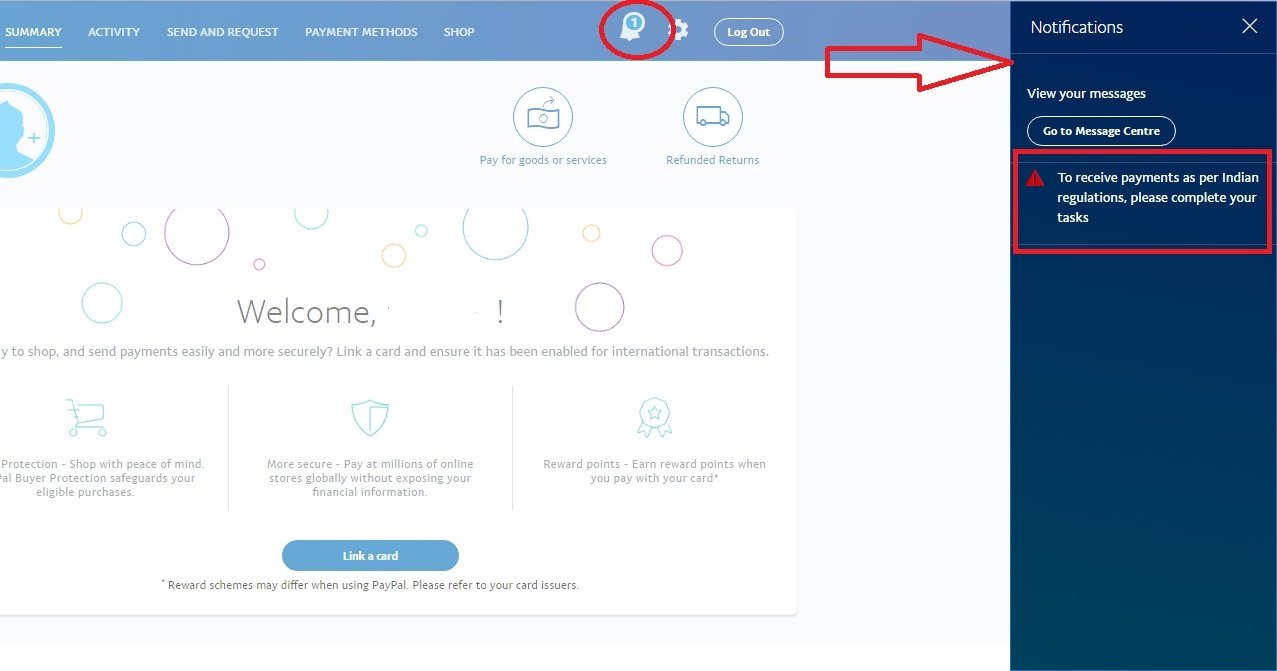
When you skip the inking of the Debit/Credit card step for later, it will take you your account page.
PayPal account in India is a limited account. You can use it to send payment to anyone using your Debit/Credit.
Your account will receive a notification to complete your tasks in order to receive payments. These tasks include confirming your email, adding your PAN details, linking your Bank Account and entering your Purpose code.
a. Add PAN
This screen consists of your first, middle and last name. You need to enter the alpha-numeric Permanent Account Number visible on your PAN card.
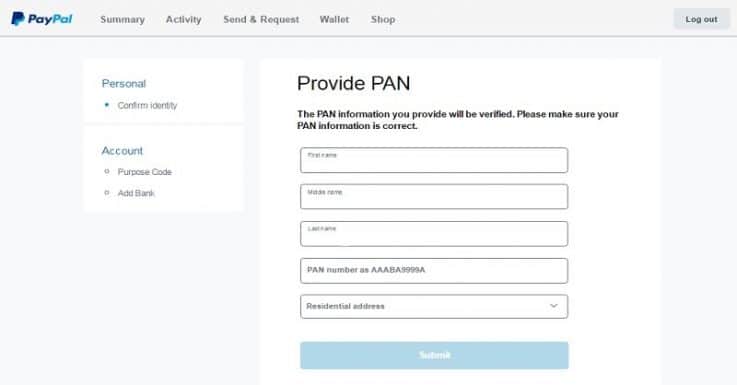
The first 5 digits of PAN number are Alphabets then 4 digit numbers and then ends with a single alphabet. See the image below for reference.
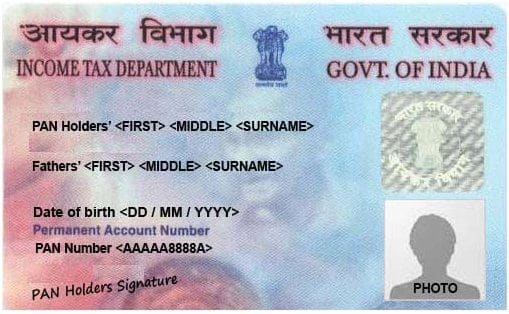
The name on your PAN card should match with the name that you have in your PayPal account. If it doesn’t match your account status will remain pending. In case PayPal cannot confirm the PAN number with the Government of India websites, they may ask you to provide the scan copy of your pan card as well.
b. Add Default Purpose Code for Auto withdraw Payments
Click on “Purpose Code” on the left side of the page to add the details. The purpose code indicates the nature of business for which you receive payments into your PayPal Account.
Please select the relevant purpose code from the drop-down list. Here is a guide for you to select the right PayPal purpose code
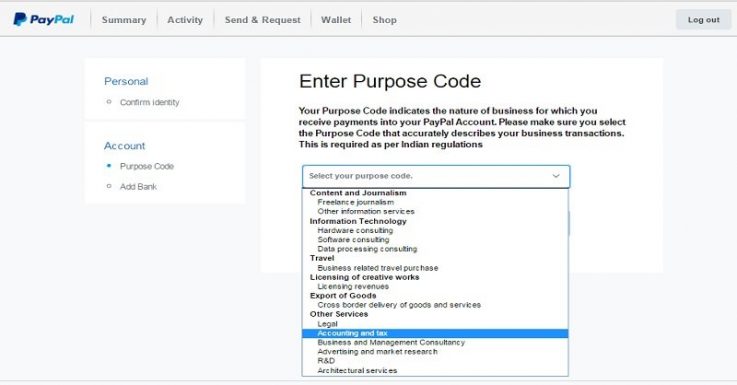
Make sure that your purpose code accurately describes your type of payments that you may receive. Select the Purpose Code and click Submit.
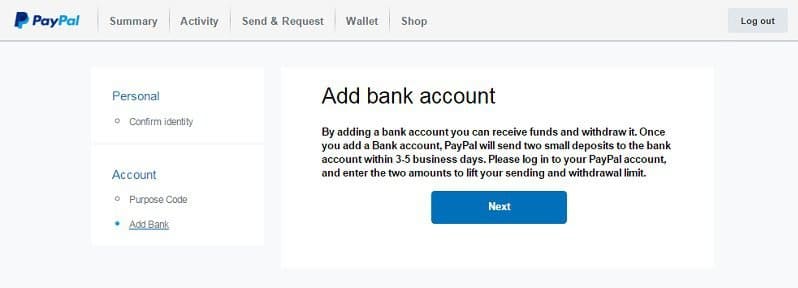
c. Add Bank Details
To add your bank account click on the “Add Bank” link below the Purpose Code. By adding a bank account you can withdraw the money you receive in your PayPal account. Click on the “Next” button to add your bank details.
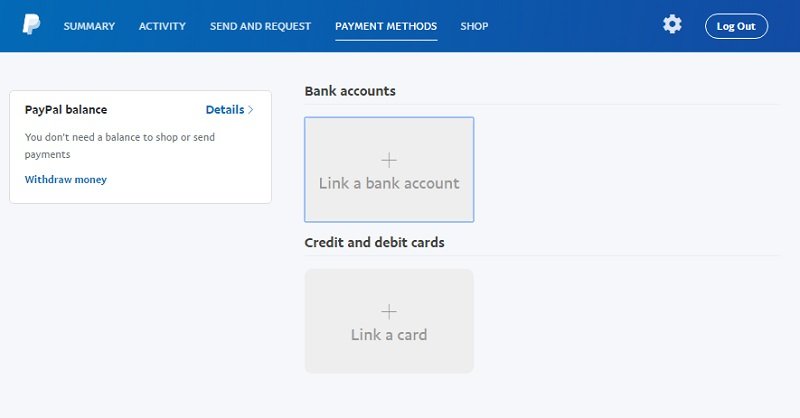
Select “Link a bank account”.
Name in a bank account, PAN card and Indian PayPal account should match. Enter the account number and IFSC code.
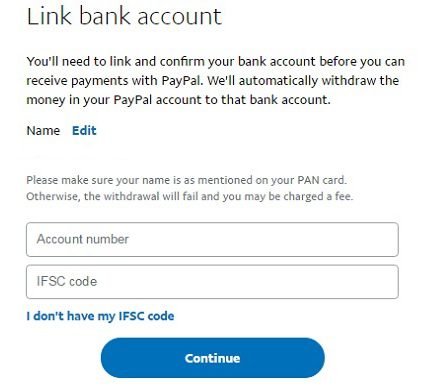
IFSC code is written on the checkbook as well as on your bank account statement but still, if you don’t have the IFSC code handy, click the option “I don’t have my IFSC code” and the below screen appears to help you find the IFSC code of your bank branch.
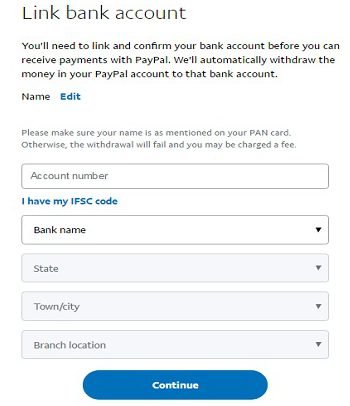
Add the details and click “Continue”.
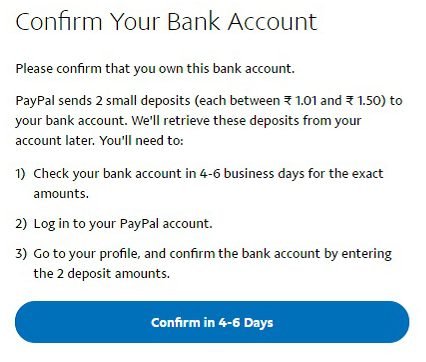
3. Bank Verification
Once you add a bank account, PayPal sends two small deposits to the bank account. This will be deposited in your bank account in 3-5 working days. Check the amounts that appear on your bank statement and enter those amounts in the PayPal interface to confirm the bank details.
Confirming the bank details will lift your withdrawal limit.
PayPal will send you a confirmation email after your email, PAN details and bank account details are verified. You will be able to do the transactions only after the verification.