How to self-publish a book with Notionpress. Set the right book size, ISBN, choose correct print options, cover, pricing, etc.
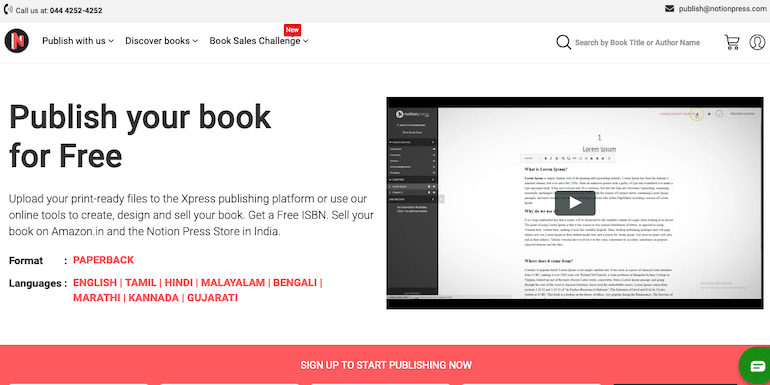
I self-published my book with Notionpress. Let me share the exact details to get your paperback book self published with Notionpress.
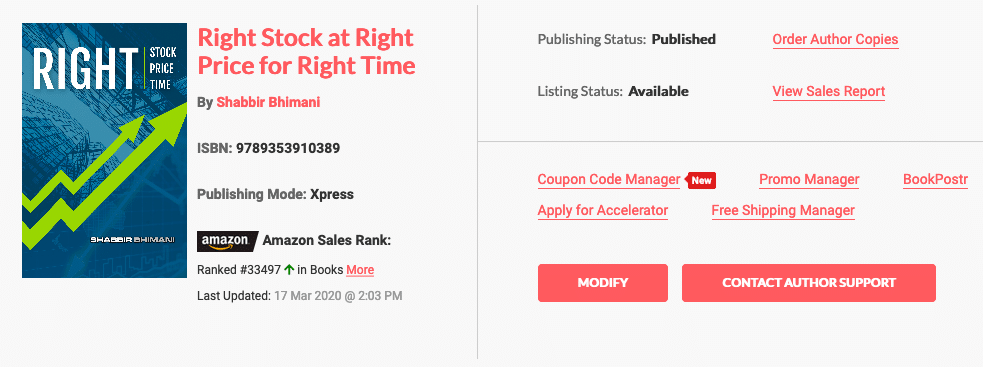
Book publishing in Notionpress is divided into four simple steps. We will see what details one needs to add in each. However, if you go through the eBook publishing on Amazon’s KDP, it can make the life of a publisher very easy inside Notionpress.
Why Notionpress?
If you are publishing a physical book with Amazon’s KDP, the book is printed in the US and shipped to India.
So it comes with a couple of significant issues:
- The price: The cost of printing the book is a lot higher. Moreover, because it is for the US, the price one can set in USD. So the price on Amazon India varies based on the forex rates.
- The Shipping Time: The book ships from the US. I thought as orders from Amazon India trickles in, Amazon may print the book and keep them in India. However, each request was printed from the US and dispatched. So a buyer would get the copy after 8 to 10 days of placing an order. Moreover, each copy had a significant amount of shipping cost.
So finally, I had to choose an Indian publishing house that offers no upfront cost self-publishing option to me, and Notionpress’ XPress publishing perfectly fits into my needs.
Because I have the complete book details, interiors, book cover, etc., I needed a publishing platform to sell my book from Amazon India.
Start Self Publishing With Notionpress
Create a Self Publishing Book Project with Notionpress
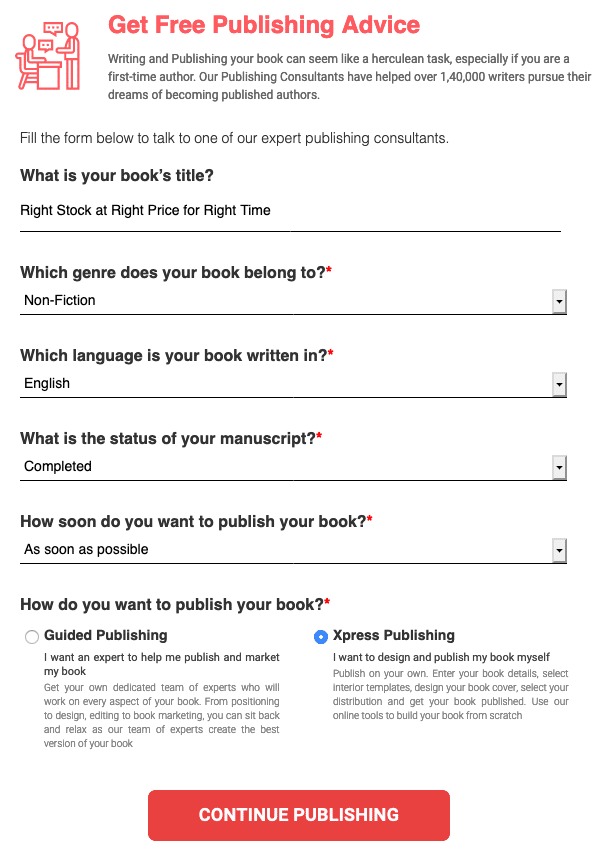
Make sure you select Xpress Publishing to self publish the book.
Step 1: Book Information
The first step to self-publish a book with Notionpress deals with the meta-data about the book.
Basic Details
We start with the book format and the language of the book.
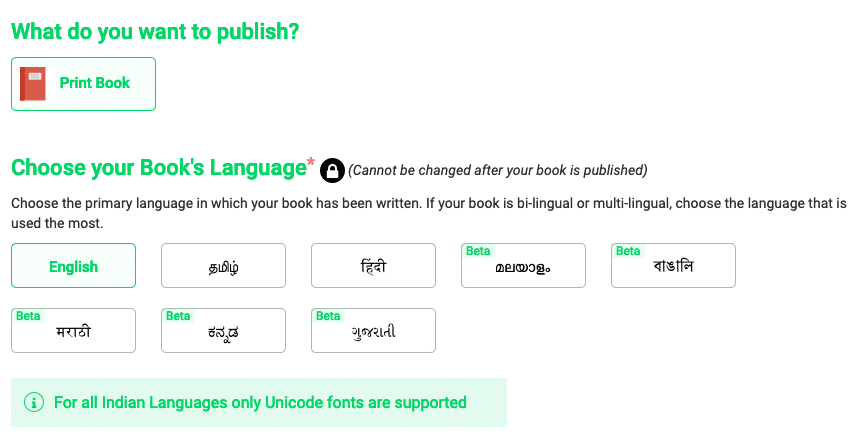
Select the Print Book and the language of the book. As my book is in English, I have chosen English. Notionpress still supports only a few Indian languages.
Title and SubTitle
Book’s title should be unique and never used by any other author earlier. To know if the book title is unique or not, first, try to search on Amazon if the book title is already taken or not.
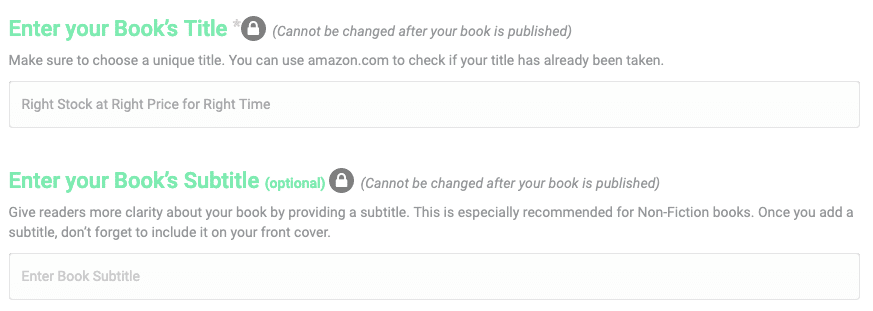
Moreover, the title once set can’t be changed after the Notionpress staff reviews a book. So make sure your choice of title for the book is unique. I recommend to publish a Kindle eBook on Amazon and apply for an ISBN Number to get the unique title of the book.
Author

The primary author of the book. Write your full name or if you prefer a pen name, use your pen name.
Contributors and Genre
Are you the sole author of the book, or you have a Co-author, editor, or illustrator that needs a mention for the book? If yes, add the details.
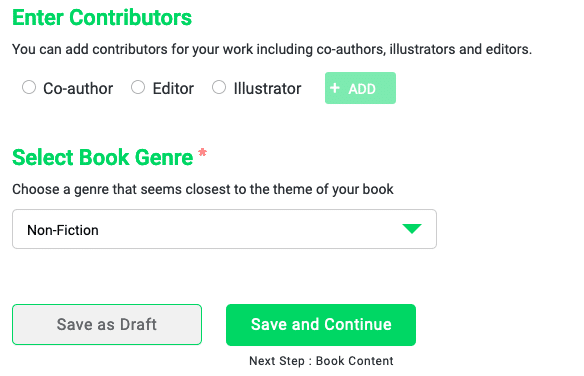
Select the book’s Genre.
- Fiction
- Non-Fiction
- Academic
- Poetry
- Cookbook
- Children Book
- Others
And continue over to the next step.
Step 2: Book Content and Design
Now we provide the actual content and design for the book.
Book Size
I had a lot of doubts about the size of the book. In Notionpress, once the book is reviewed, it automatically gets published. Then you can’t change the size of the book. Moreover, you can’t order an author copy of the book to view its size and print output either before sending it for a review.
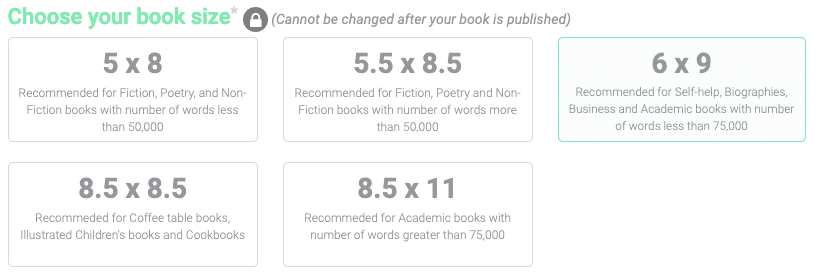
I made the mistake of selecting the 8.5×11 size but then found it too big. To change the dimension, I had to unpublish the book. As I tried to publish a new book with a new size, the book doesn’t take up the same title. So I had to go through the process of getting the book removed.
In short, you must select the right size for the book in the first attempt.
If you are not sure or want to give a try, it is better to use Amazon’s interface and order a book. It takes longer for the book to come from the US, but it is faster than getting the support team at Notionpress to get the book removed from the system.
Moreover, once the dimension of the page changes, if your book content is not in the flow format and has a lot of images, it may need to adjust to the new page size.
So in my 8×11, the number of pages was around 231, but when it was resized to 6×9, the total number of pages now is 322. When we start writing, we usually don’t opt for page size, and so typically it is either letter or A4 size. But once you change the page size, it is important to relook at every element, including images.
Book Type
Binding type if paperback.
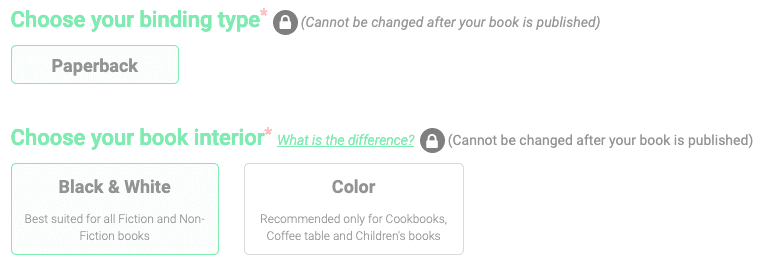
Unless you are publishing a cookbook or a children’s book, the book interior should be black and white as well. I had no clue about it when I was writing the book. So my charts were colored, and the explanation was made regarding red and blue lines. I had to change the content to thick and thin lines to suit the black and white output.
Paper Type

My book has charts, So I had to go with a white paper type.
Unless the book has charts and images, choose 70 GSM Cream paper to reduce the printing cost.
Cover Finish
Should you opt for Glossy cover or matt finish

I wanted to see both. So I did order a glossy version of it at Amazon.
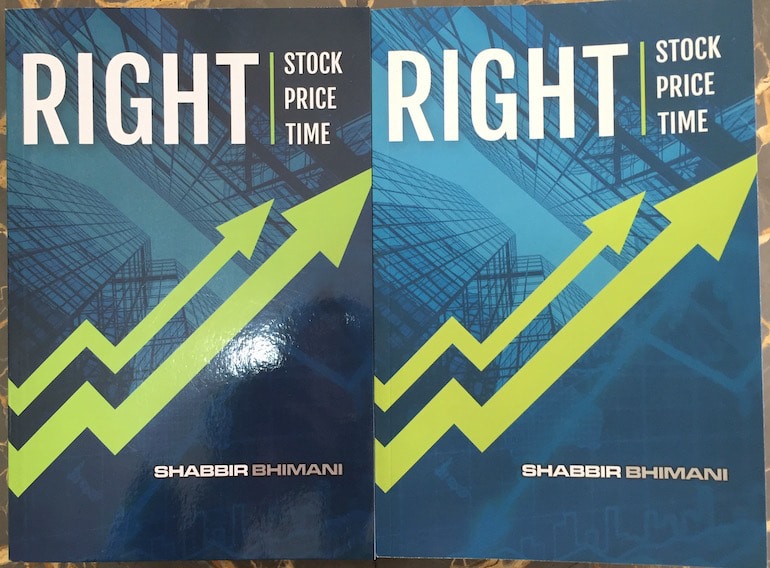
I finally settled for the matte finish.
Book Content
The content for the book.
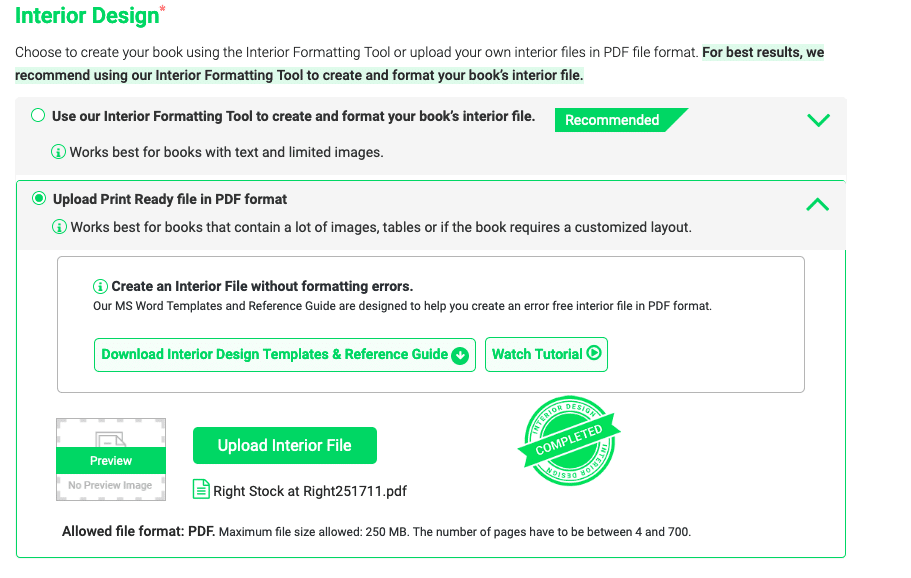
I prefer a PDF version of the book as it allows me to put the charts and the explanation in the right place. Change the page size in the PDF Maker to the dimension of the book to get everything in place. If your book doesn’t have images, you can opt for a flow-based layout where content adjusts itself to the available size.
Cover Image
The cover for the book.
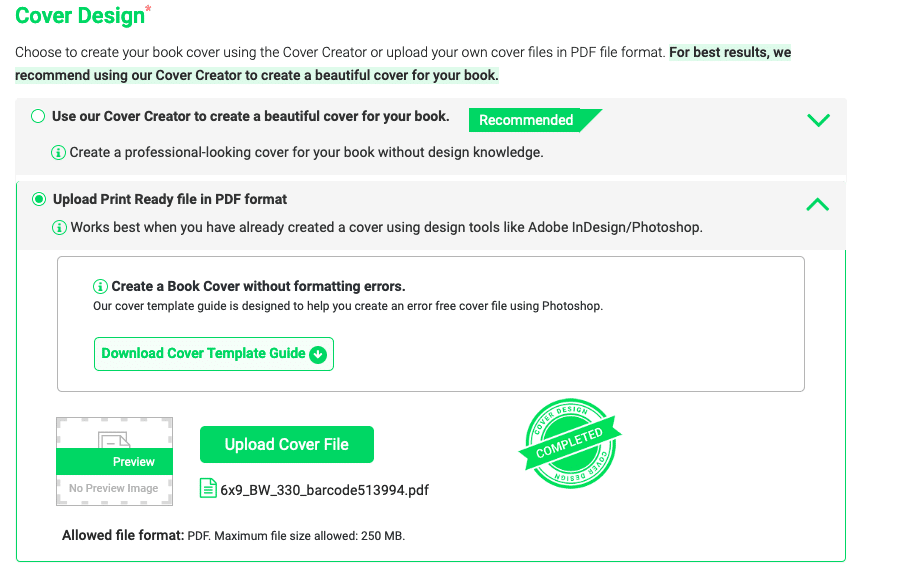
You can use the Notionpress’s self-publishing interface to design a cover or use the PDF file of your own. Because I was on Amazon, I could download its template and ask the designer to create a PDF file for me.
Amazon’s cover works fine on Notionpress. However, on the backside bottom right section of the cover should have the ISBN bar code. Once you have the ISBN Code, create an image file for it using online tools to use on the cover.
Step 3: Distribution and Pricing
Once done with the content of the book, we are ready to move on to the distribution and pricing information, which is the final step in the process to self-publish a book on Notionpress.
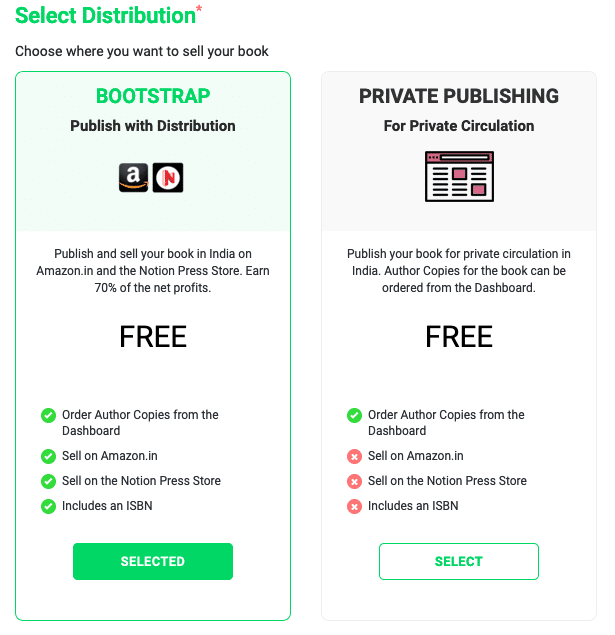
Distribution
Select Bootstrap unless you only want to order author copies of the book.
ISBN
Finally, we have an option to enter the ISBN. Not sure why but they have kept the option at a very later stage of the book and in the final step of the book publishing.
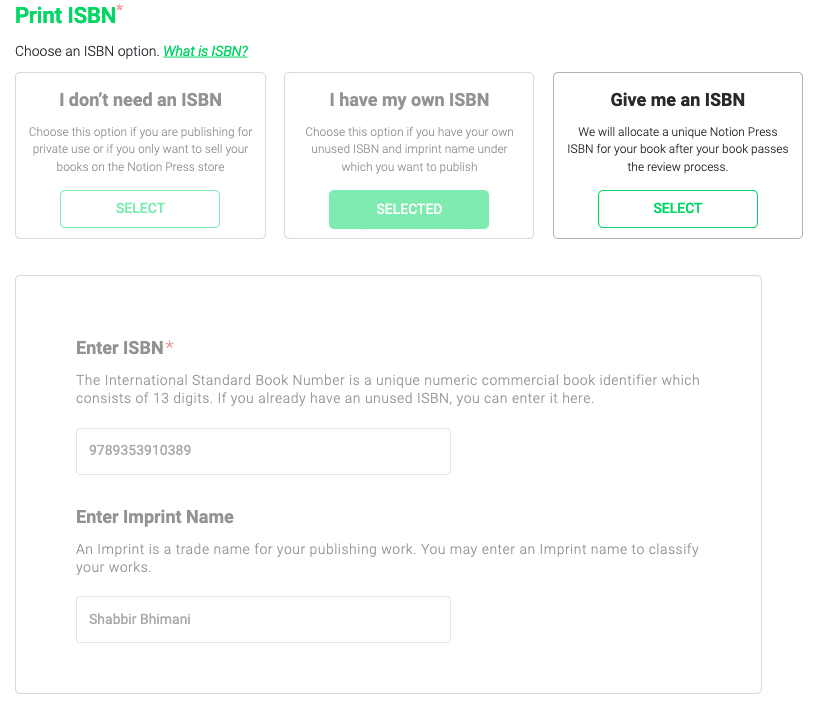
I wanted to publish the same book using multiple publishing houses, and so I opted for my ISBN. However, you can even choose for an ISBN of Notionpress itself.
Book Description
Add some book details to be added to the Amazon marketplace.
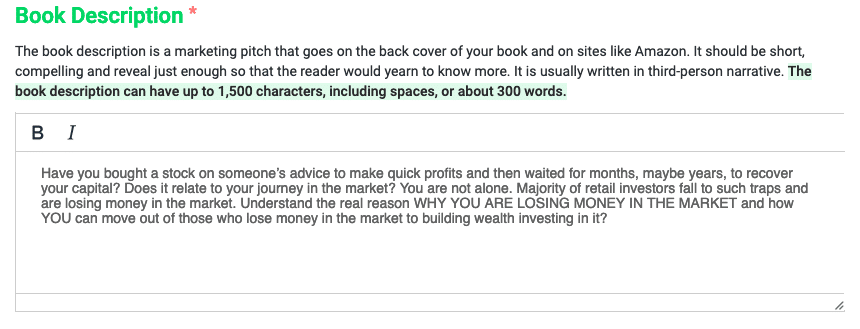
I also have an eBook listed on Amazon. So not sure if my Notionpress details are being used in Amazon or not, but I have kept both the version the same. Amazon automatically merges the paperback from Notionpress and ebook from KDP using the title information.
Author Bio
Finally, a line or two about the author.
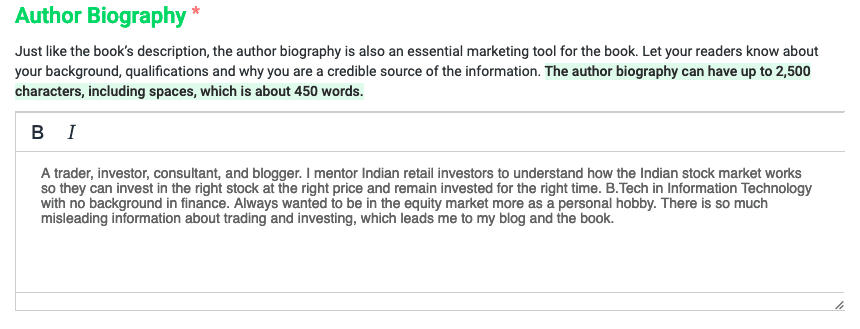
Again, because I use Amazon’s KDP, my author page content is possibly taken from Amazon’s interface and not from Notionpress’s interface. Still, to avoid any confusion, I have both the same.
Keywords
Finally, some keywords for users to find your book.

These keywords will not be used in Amazon or Flipkart marketplace. However, they are used to the Notionpress marketplace.
Book Category
Finally, we have a category to select for the book.

Again not sure why it is so later in the process but select the most appropriate category for the book. Because we have an ebook in Amazon, the category is only used in the Notionpress marketplace.
Price
Select the price you want to set for the book.
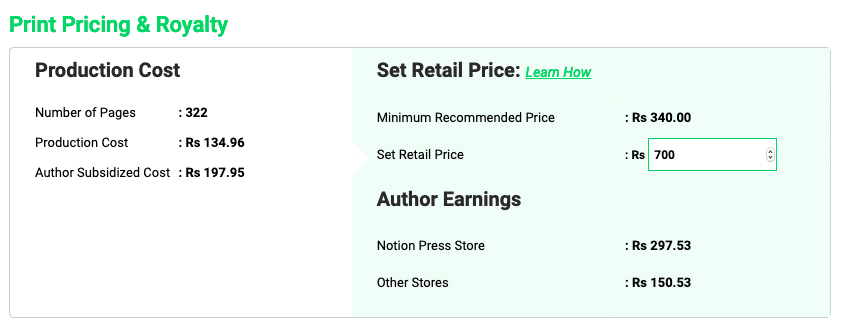
Every publishing house charges a significant amount to handle book printing and shipping it to Amazon. Once you enter the price, you will see how much you will make per copy sold.
Terms

Finally, accept the terms and conditions and submit the book for review. Once the book is reviewed, it can take up to 14 days to get listed on Amazon and Flipkart.
I hope it helps all the fellow Indian authors to self-publish a book with Notionpress.
