How to add Payoneer as the payment option into your Indian Upwork account. The complete process with screenshots of each step

Payoneer is one of my favorite payment options as a freelancer and blogger in India. I like Payoneer because of its low transaction charges and better forex rates. Today I will share how one can add the Payoneer as a payment option to his or her Upwork account.
BTW those who still don’t have a Payoneer account you can get one here. As an individual freelancer, the documentation needed is a bare minimum for KYC, like a PAN and Aadhar. Moreover, I am a Payoneer user for a decade now, and you can find a detailed view and review here.
Why Payoneer as Payment Option in Upwork?
The main reason I like and love Payoneer as the payment option within Upwork is a lower cost.
I know it only costs $0.99 to withdraw amounts from Upwork to your local Indian bank account. However, the forex rates that we get via Upwork to an Indian bank account, as opposed to Payoneer to the Indian Bank account, can differ a lot.
In the end, I will share the exact details of how much more you make when using Payoneer to Indian Bank as opposed to Upwork to Indian Bank account.
So without much ado, let us begin.
Add Payoneer Account to Upwork
Head over to your payment settings option in Upwork Profile which is located under Account > Settings > Get Paid
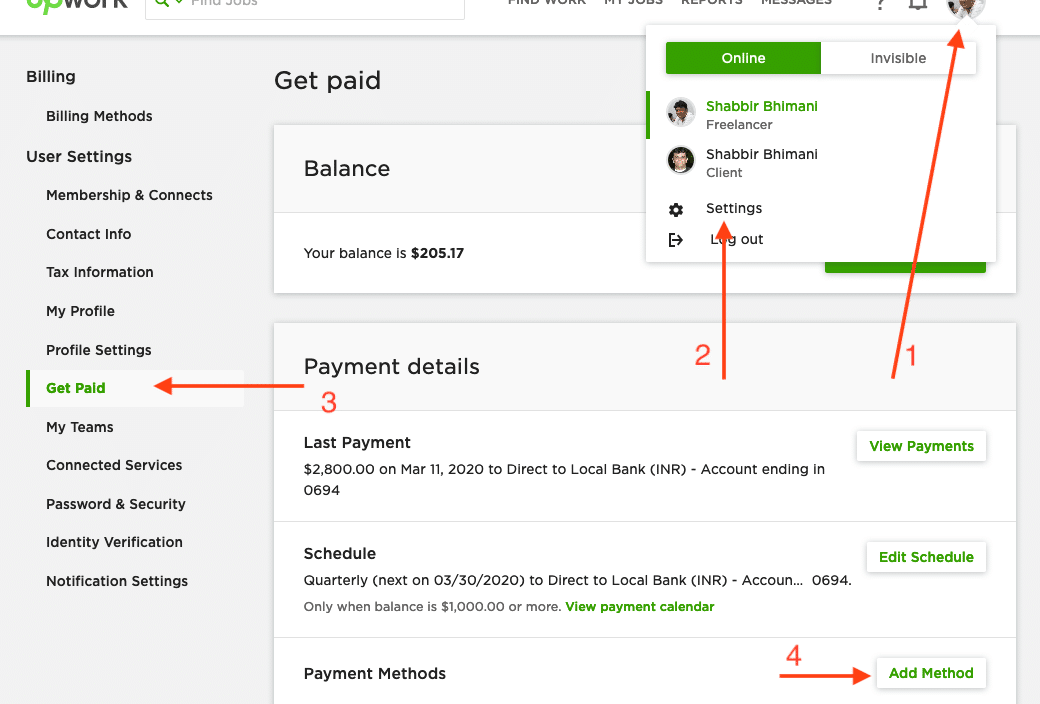
Click on the Add Method option under the Payment Methods.
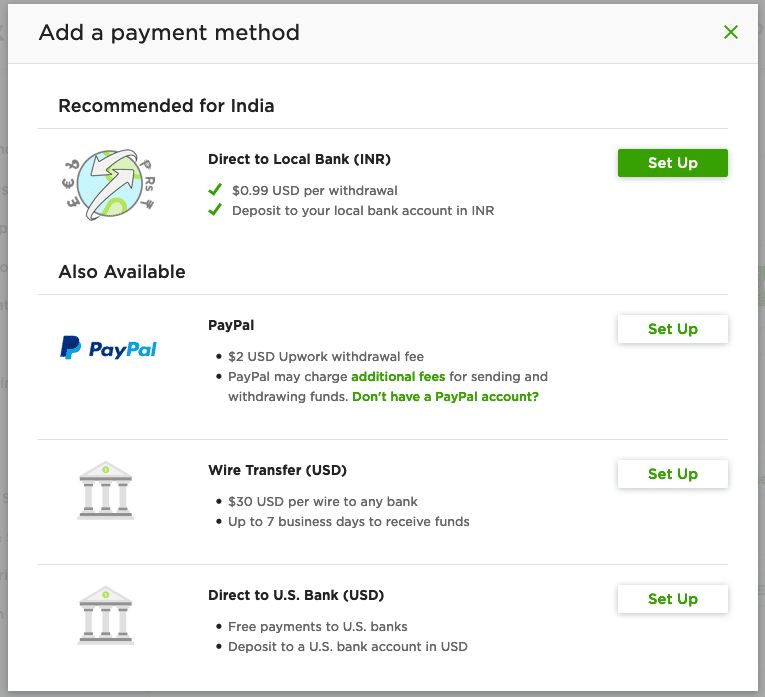
Select Direct to US Bank (USD) and Click on Set Up
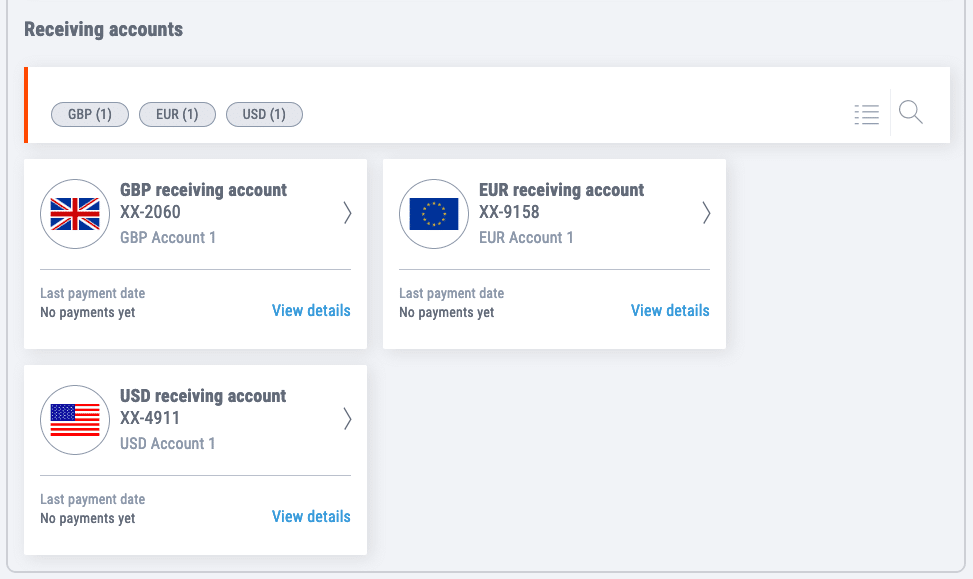
Under the Global Payment Service under the Receive menu, you will find all the accounts Payoneer has for you.

We will use the US Bank account details from Payoneer into Upwork.
Fetch the US Virtual Bank Account Details and copy the routing number and account number.
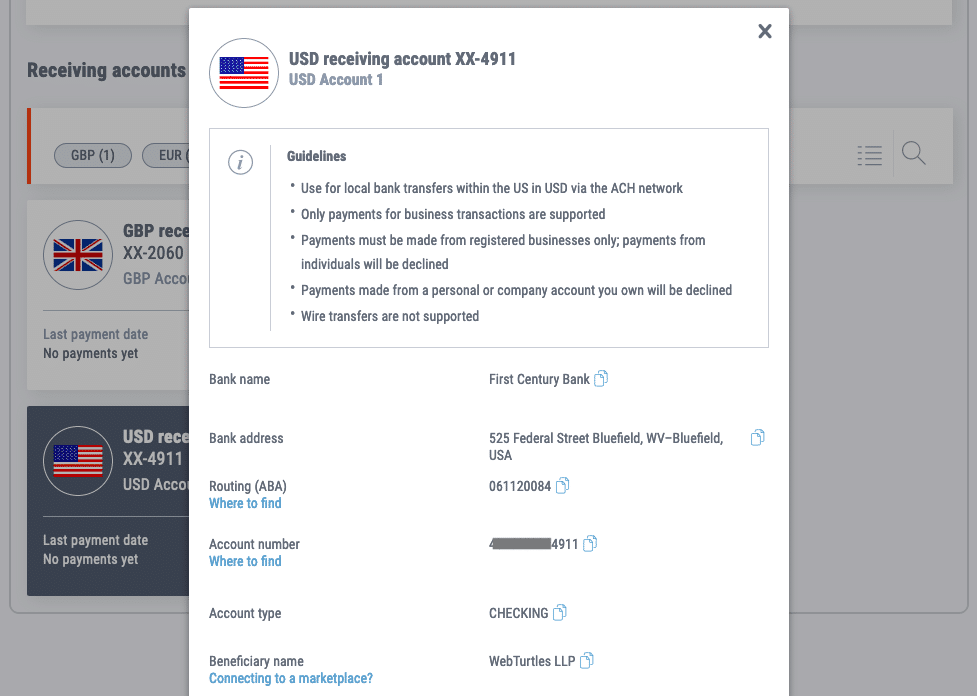
Add the provided bank details from Payoneer into your Upwork account.
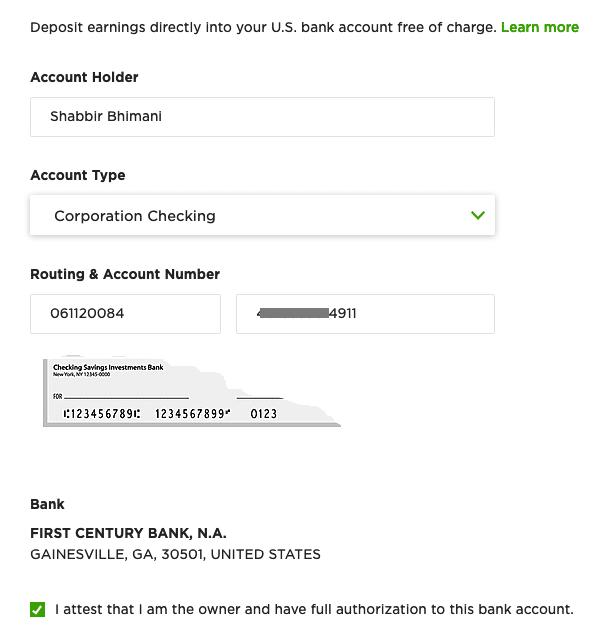
Make sure Upwork shows the bank name the same as in the Payoneer’s Account. We aren’t used to the US Bank routing code to the bank name. So verifying the bank name here can help.
Attest that you are the owner of the bank account.
Then, it will ask you to verify the bank account.
For Verification, Upwork will send two small amounts as a credit to the added bank account. In the next 24 to 48 hours, the transaction will reflect in Payoneer. Wait for the amount to reflect in the transactions section.
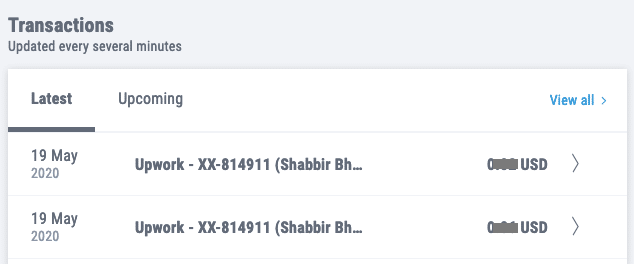
Once you know the amount, head over to Upwork to verify it.

Click the Verify option for the bank account and add the amount you have received in your Payoneer account into Upwork.
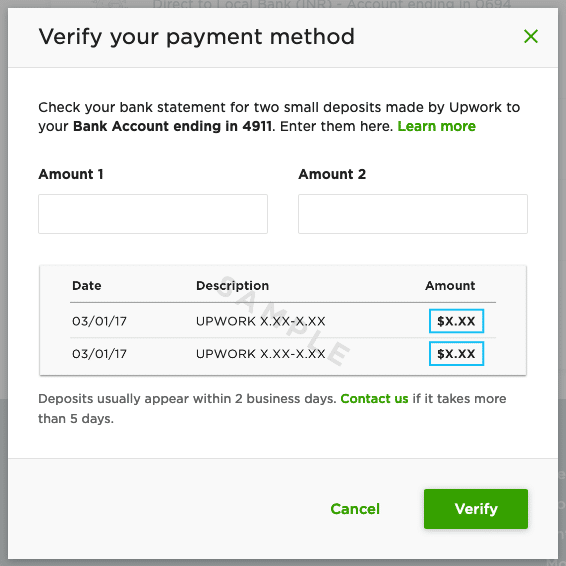
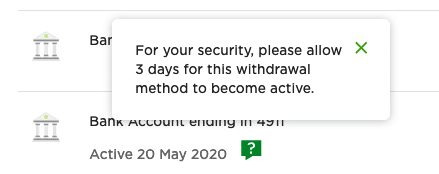
The order of the amount doesn’t matter. Once the amount is entered, the account will become active for withdrawal after the cooling period of 3 working days.
Withdraw Money from Upwork Via Payoneer
Once the account is approved, you can withdraw the funds from your Upwork account to Payoneer and ultimately get it to your bank account in India.
The withdrawal in Upwork for the newly added Payoneer USD account is the same.
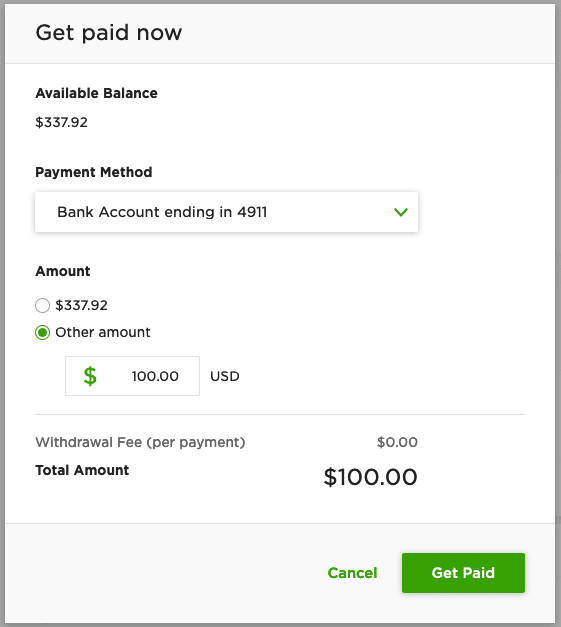
Click Get Paid Now, and Upwork processes your withdrawal request. You are saving withdraws fee of $0.99 to an Indian bank account.
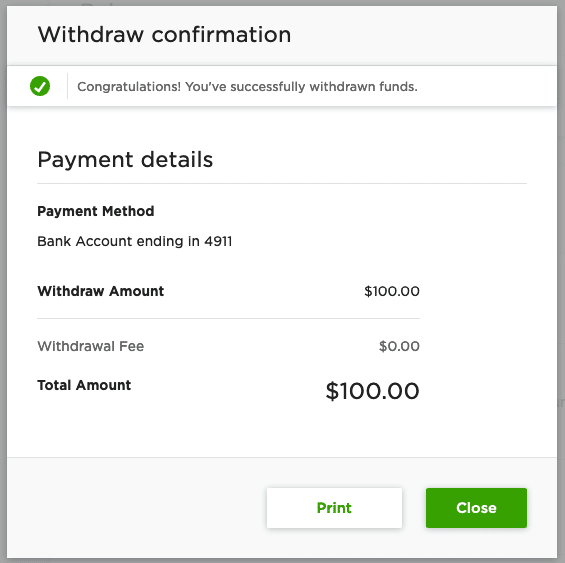
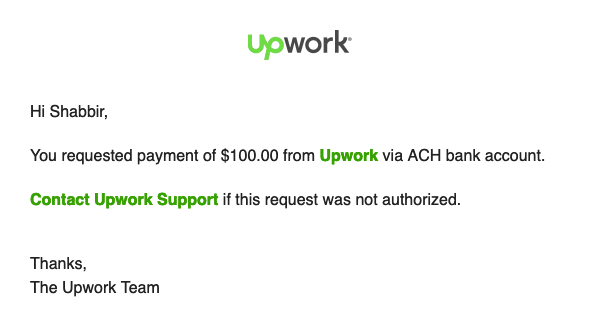
Soon you will also get a confirmation email for the confirmation of the withdrawal request.
Now, wait for a day or two, and you will get the email about the payment from Payoneer.
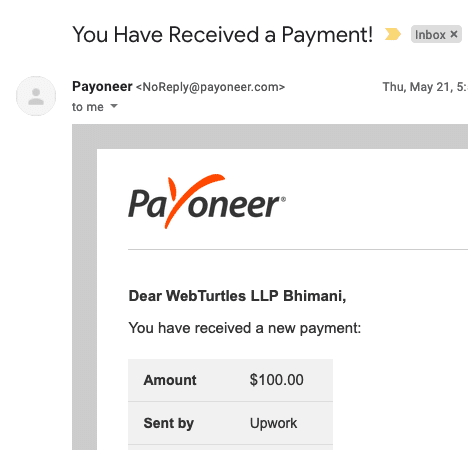
Once the Payoneer team reviews the amount, you will get a second email for the amount being withdrawn and being credited to your Indian bank account.
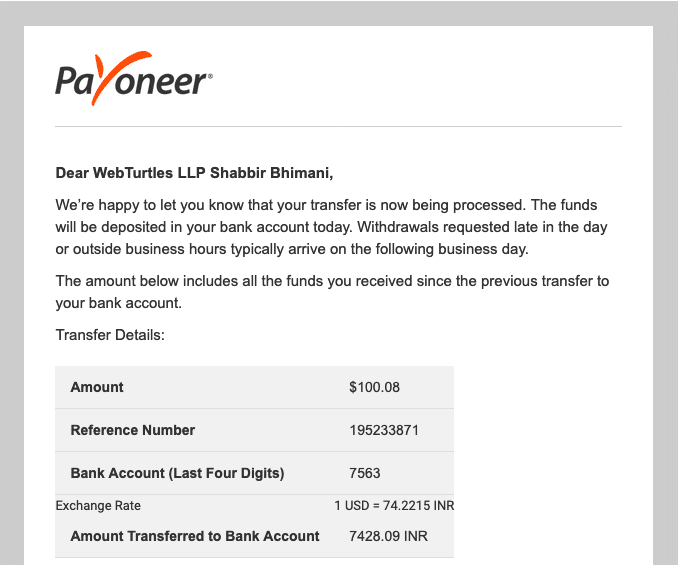
There is nothing you need to do. The automatic withdrawal request will be processed, and the amount will soon hit your bank account.

The forex rate on 22nd May as in Payoneer was 74.22. If I check the same on Upwork, it is 74.14.
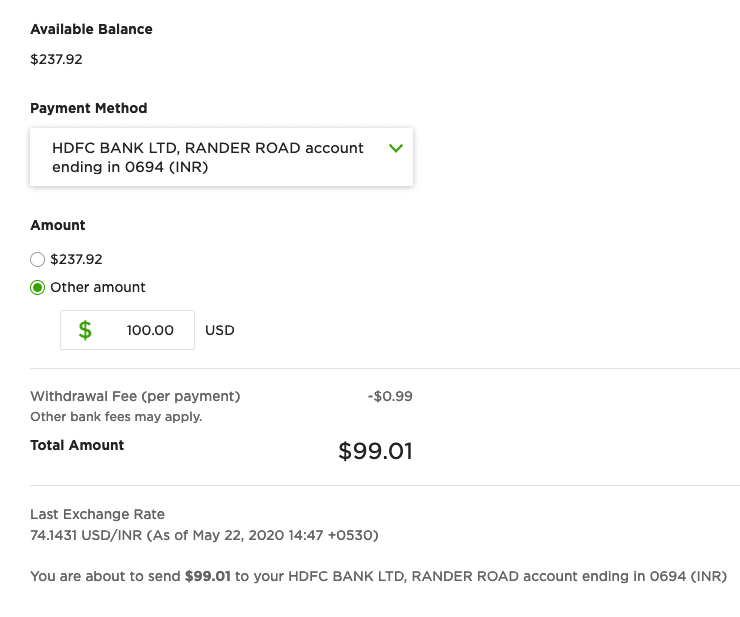
The forex rates of Payoneer and Upwork are almost the same. We only save on the withdrawal fees. So it doesn’t make much sense to be using Payoneer for Upwork. However, if we use PingPongX for Upwork, one can save a lot more on the Forex rates.
