The complete guide with screenshots to make right choice of SSL certificate, Generate CSR, activate and import the certificate in the hosting control panel.

HTTPS-based sites rank better in Google, but there are other than SEO reasons to make a site secured and be served over an HTTPS. The primary reason being all browsers has started to throw a warning when a user tries to enter a password and if the site isn’t over an HTTPS.
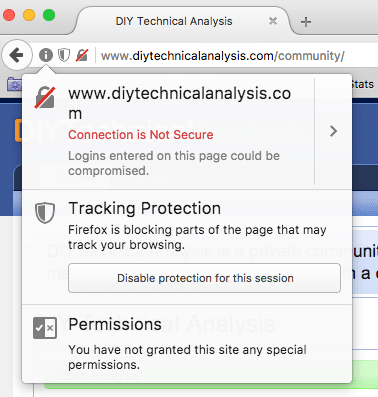
So using a digital SSL (SSL stands for secured socket layer) certificate is a must for every website. Getting your digital SSL certificate is very simple, and anybody can do it even if he isn’t too tech-savvy.
So let me show how anyone can generate an SSL certificate for his domain and then use the hosting interface to install the SSL certificates.
This guide will cover
- The Right choice of SSL Certificate
- Purchase an SSL certificate from Namecheap
- Generate certificate signing request or CSR
- Activate SSL certificate for the domain
- Import the SSL Certificate
So many SSL Certificates to choose from
Basic digital certificates verify website owners’ contact and hosting details. Advance digital certificates need more information to be verified and can take longer to be issued.
We will deal with a basic SSL certificate that verifies domain owners’ email addresses.
Again the basic SSL certificate does not mean it is just for the sake of getting a digital certificate and remove the browser warning. Facebook and Google even use basic certificates.


Some of the banks and payment system websites use a more advanced version of SSL certificates with company name appearing in the browser’s address bar.


An e-commerce website that processes the payment is fine to be using a basic SSL certificate. Amazon India uses the basic version of the SSL certificate.

Basic SSL certificate (Namecheap terms it as PositiveSSL) can be for a single domain, multi-domain (more than one domain like .com, .net, .in …) or unlimited subdomains.

I will use Namecheap’s Positive SSL for a single primary domain and set it up for my domain mathstips.com.
SSL Certifying Authorities
I did try GlobalSign’s AlphaSSL, which is a basic certificate from GlobalSign, but I could not get the kind of services I needed. My account took a long time to set up, and I had to wait for days (yes days) to get a reply to queries over email. Often email was replied after I called them to respond.
I moved over to Comodo and used Namecheap’s PositiveSSL, which is a cheaper option to get Comodo certificates.
Free SSL certificate
Before purchasing an SSL certificate, if you are using a single domain, your host may provide a free SSL certificate. Just get in touch with the host to see if you are eligible for a free SSL certificate and if you aren’t, let us go ahead and purchase it.
Visit your website with HTTPS://YOURDOMAIN, and you will see a nonsecure page warning.
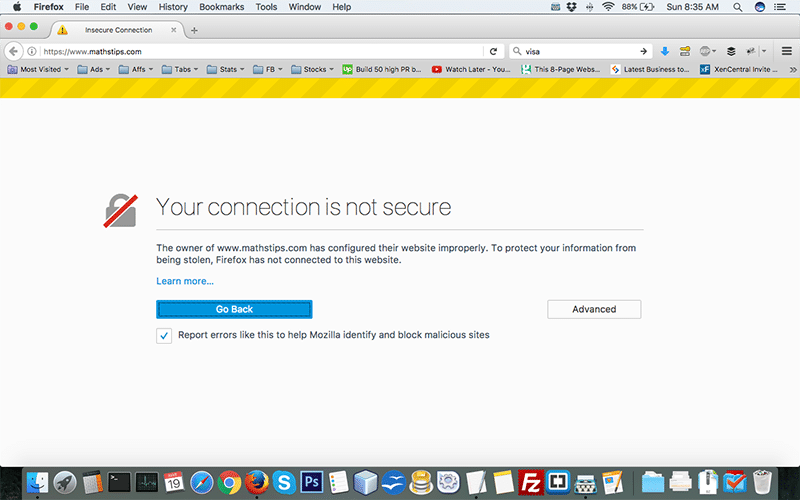
Once you see such a warning, let us proceed to purchase an SSL certificate.
Purchase PositiveSSL from Namecheap
Let us purchase a PositiveSSL certificate from Namecheap.
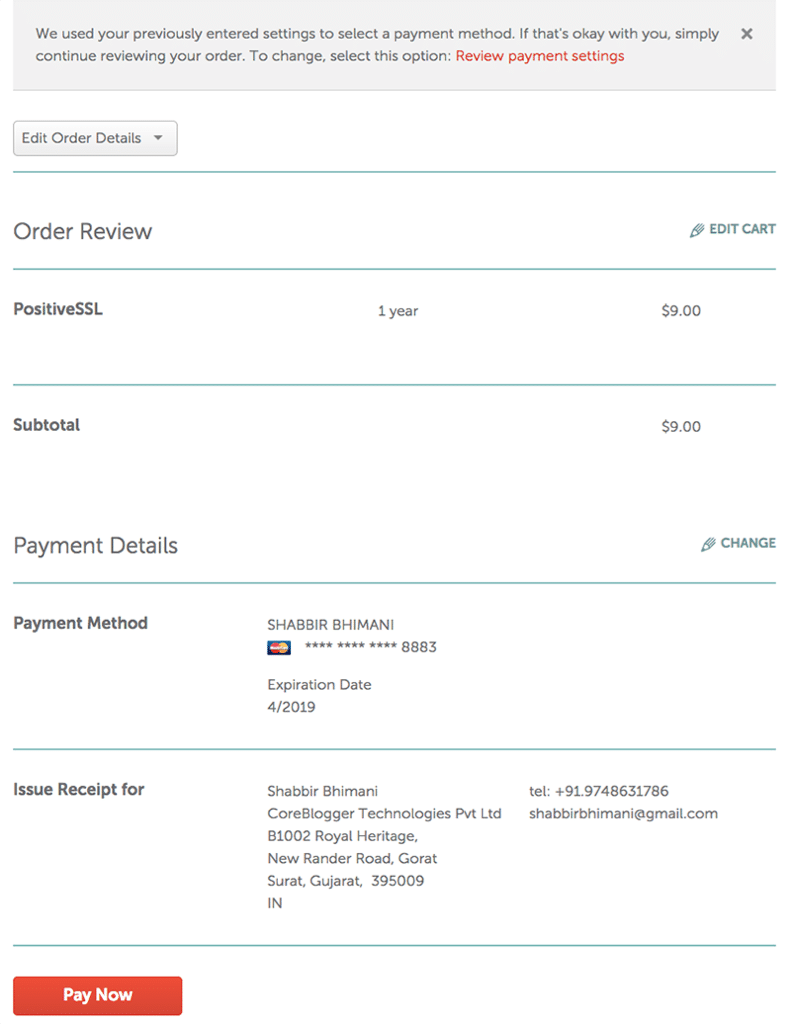
Once the payment is complete, click the manage button to open your SSL certificate options.
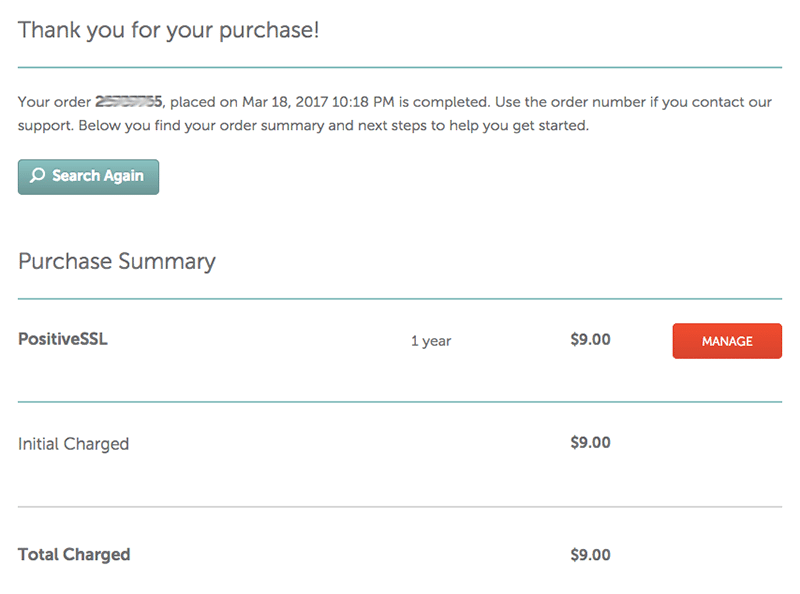
After you click manage, you will see an option similar to the screenshot below.

Generate CSR
We need a CSR (Certificate Signing Request). A CSR is an encoded data to provide public key along with information to identify domain names and other details. Your host generates CSR.
In CPanel, you can find an option to generate CSR under the security > SSL / TLS Manager.

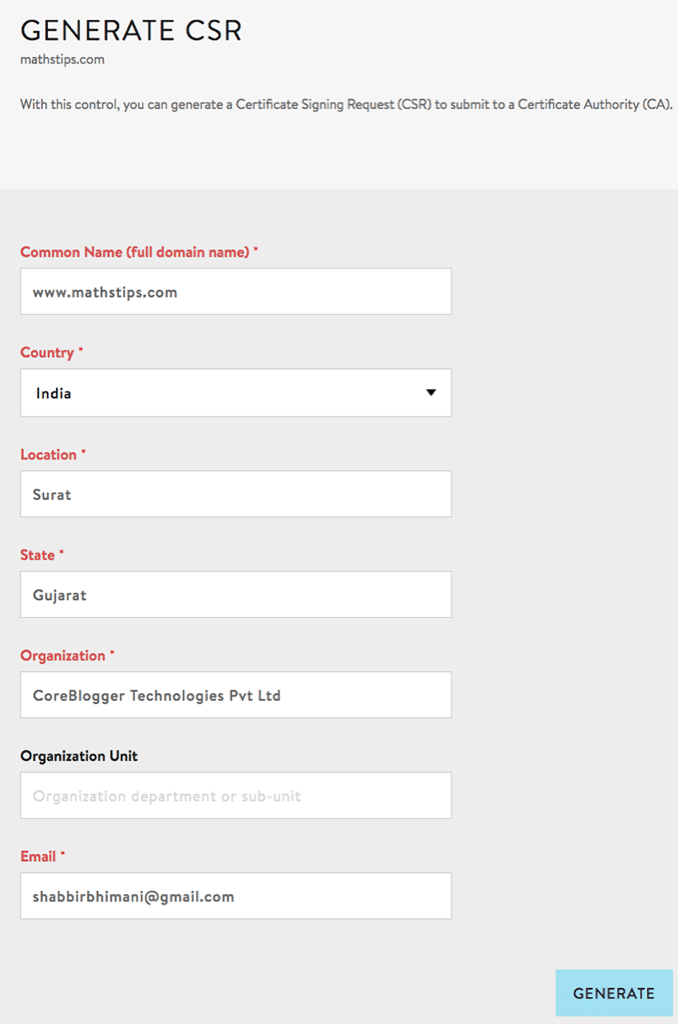
Generate new CSR for the domain.
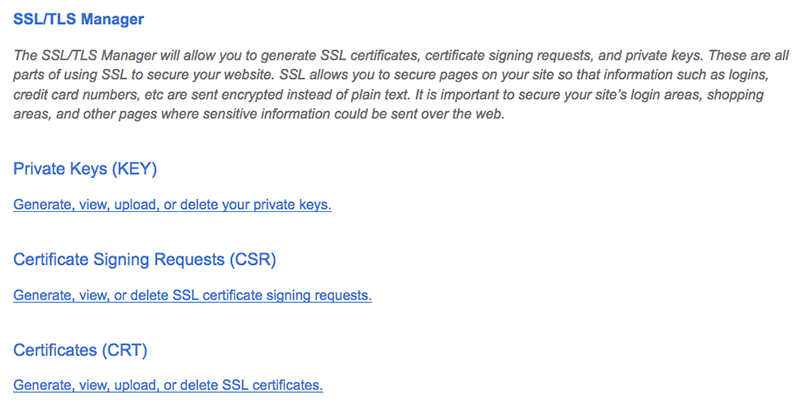
You will need to provide the following information.
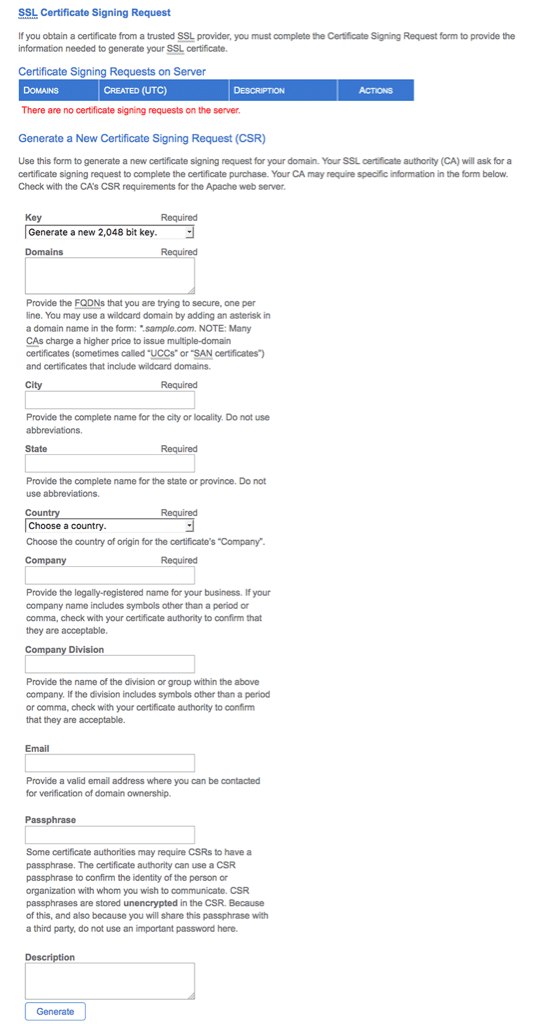
Make sure you enter the correct domain name when generating CSR. You can use WWW or non-WWW version for Namecheap and Comodo certificates because they work with and without WWW both.
My mathstips.com domain is hosted on MediaTemple, and so I use Mediatemple’s interface to generate my CSR. The interface is different, but the process is the same.
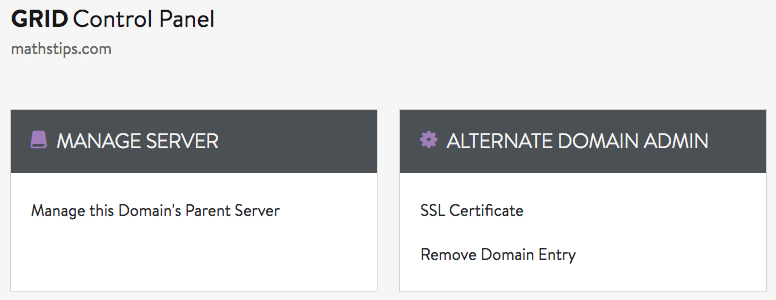
Under the SSL certificate, we have the option to generate CSR.
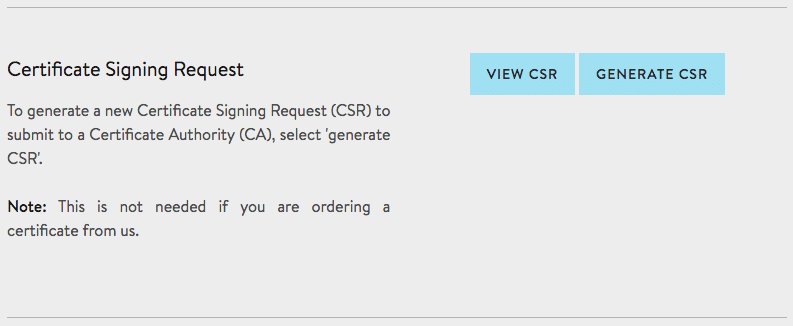
Fill the details and generate a CSR.
Generated CSR looks like this.
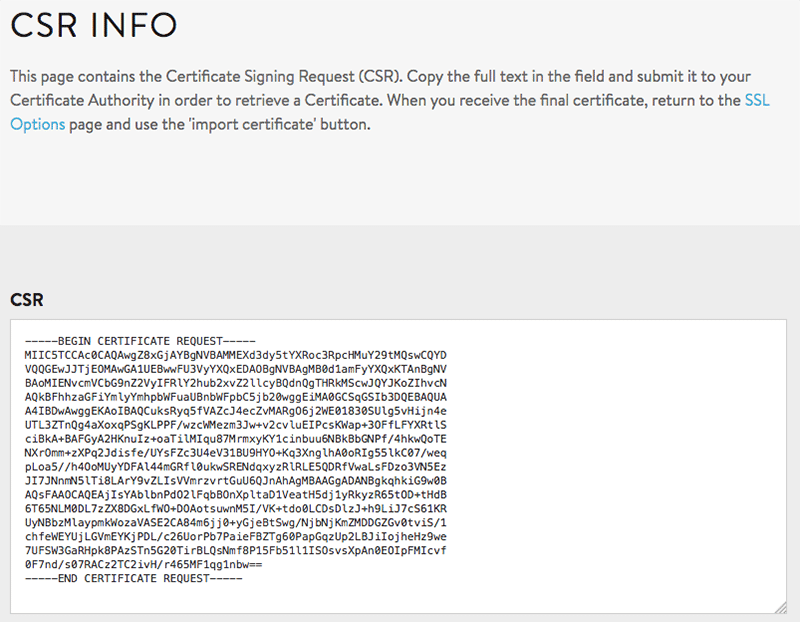
Copy the complete CSR including the —–BEGIN CERTIFICATE REQUEST—– and —–END CERTIFICATE REQUEST—–.
Activate SSL
Paste the above CSR in the Namecheap SSL certificate activation window.
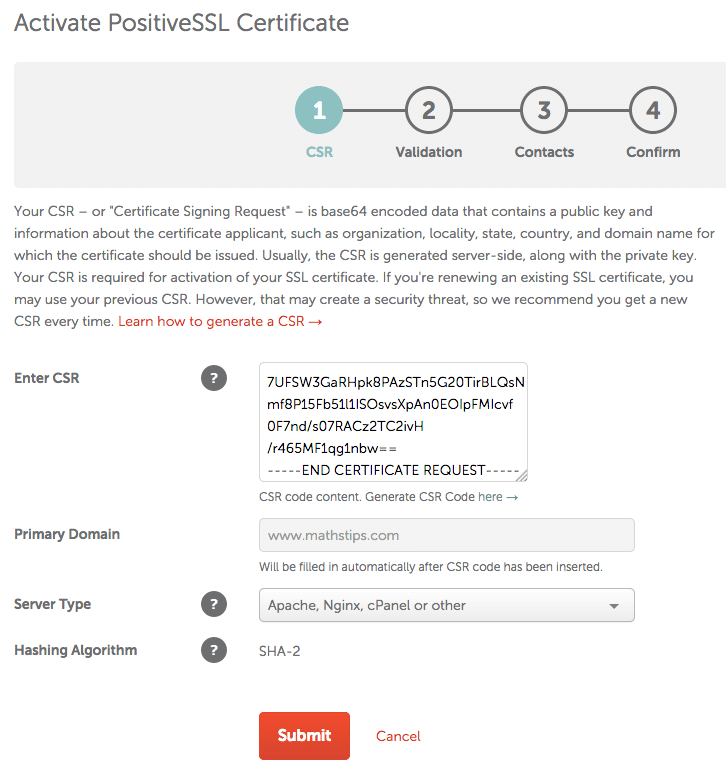
Namecheap will automatically fetch the domain information from CSR. Select the kind of server. Often it should be Apache, Nginx, cPanel, but if you aren’t sure, you can ask your host.
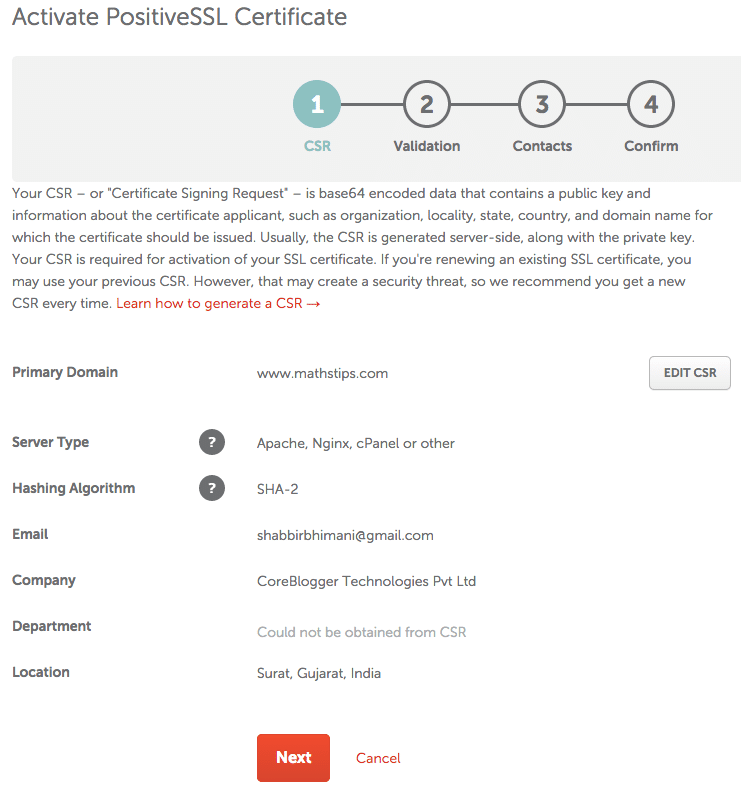
Once you click submit, Namecheap will fetch information from CSR. Reconfirm that your domain and other information are correct and click Next.
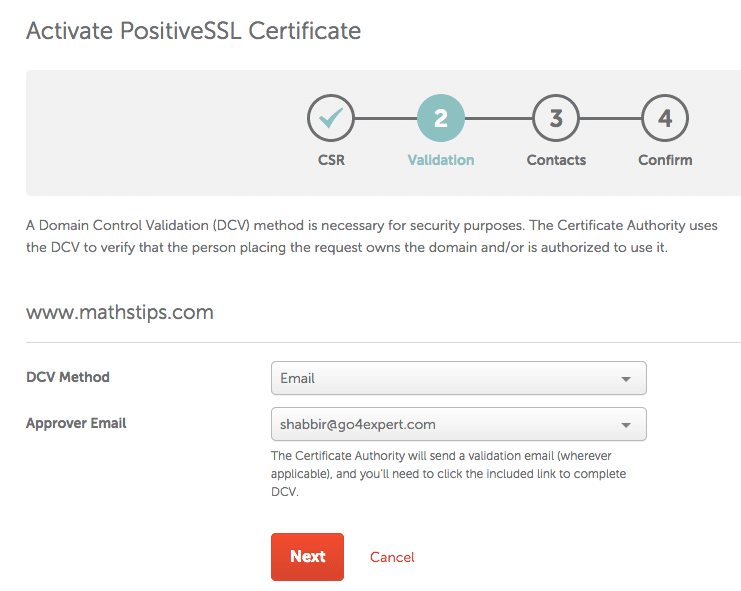
Verify the domain ownership with an email or uploading a file on the server. I prefer email.
Choose email as a domain control validation method and select an email that you have access to.
The emails are fetched from whois information of the domain, and if your domain contact details are outdated, have the correct contact details for the domain and then proceed further.
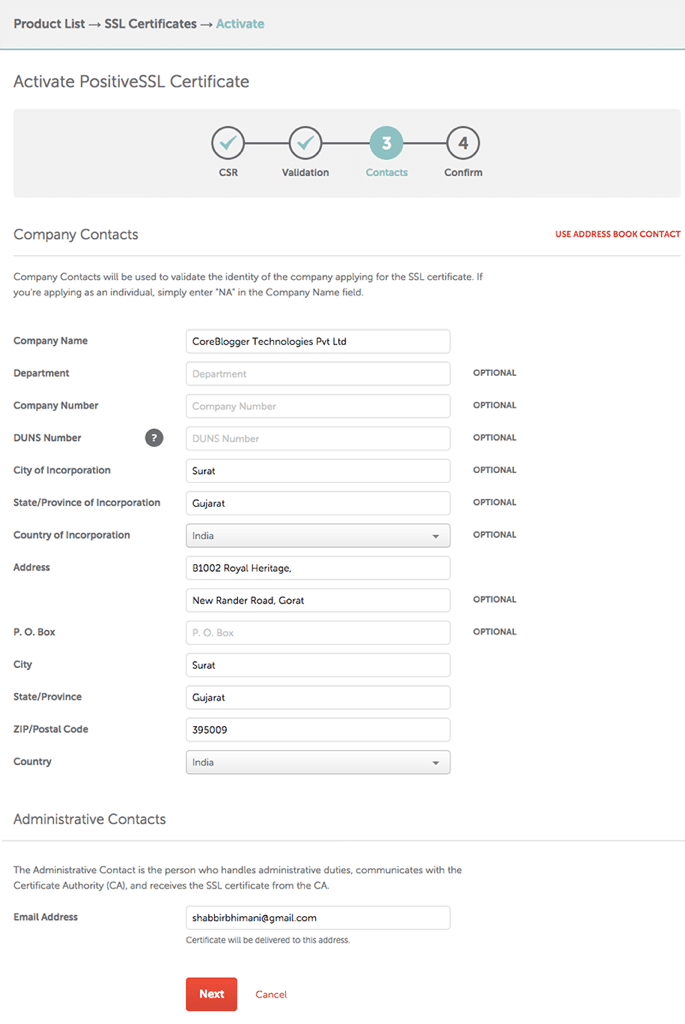
Enter the contact details again for the certificate. Make sure in the Administrative contact, and you use an email where you want the certificate to be sent.
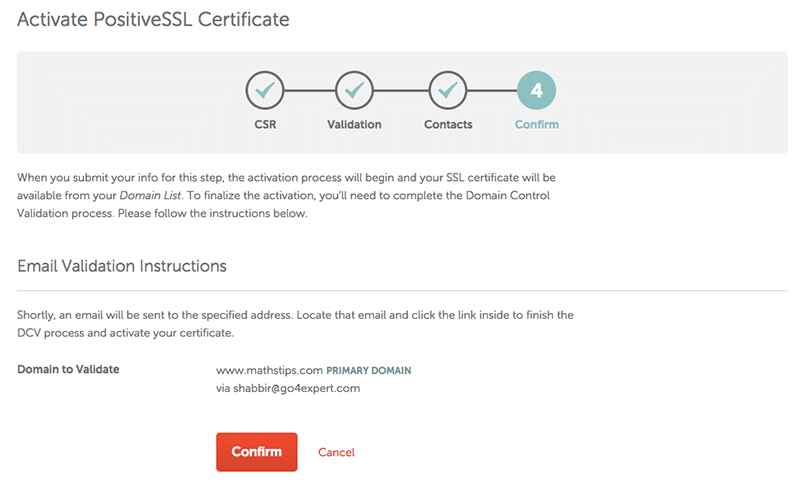
Confirm details.
You should see the summary of everything done so far.
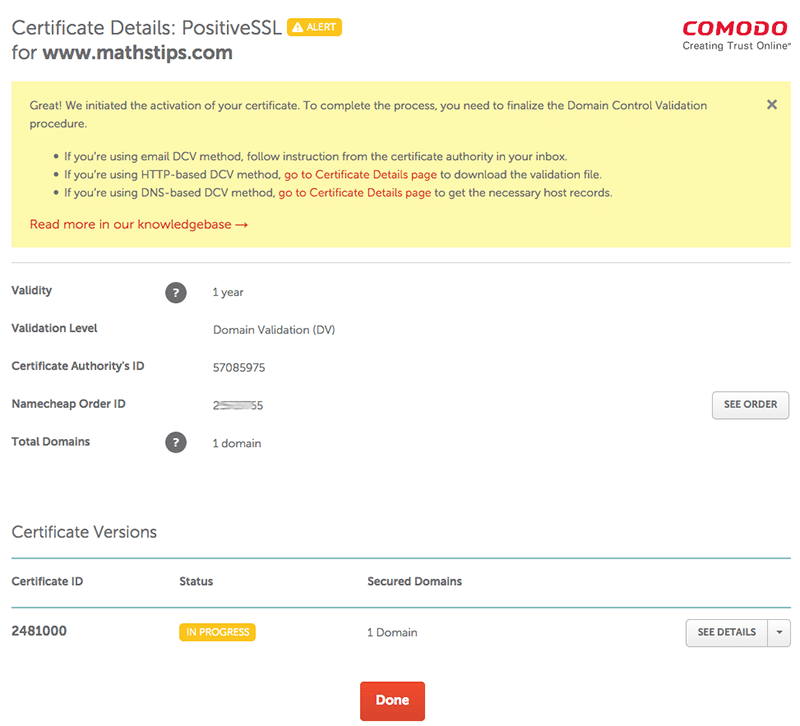
Email Validation
Head over to the inbox of the DCV mail, and you will see an email from Comodo.

The instructions in an email are pretty easy to follow.

When you click the link, it contains the order number to make sure you are issuing the certificate for the correct domain.
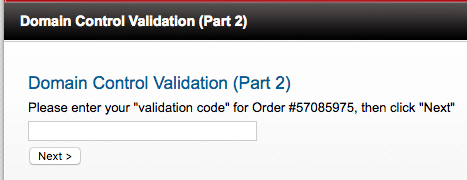
Once done, you will see a confirmation message.

Head to the email inbox of administrative email that should have the SSL certificate, and you will have your certificate in the inbox ready to be deployed. Note it takes a minute or two to get the SSL certificate.

Download the zip file attached in the email, and it will contain a couple of files.
Import SSL Certificate

www_mathstips_com.crt is the SSL certificate file, and www_mathstips_com.ca-bundle is the SSL certificate of the issuing authority. Open both the files in a notepad or any text editor.

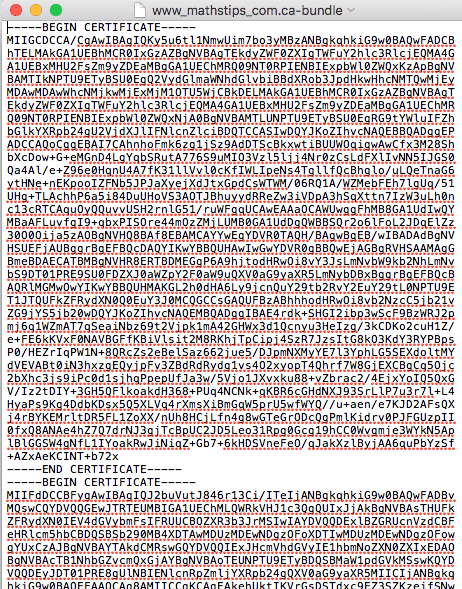
Copy the content of each of the files and paste them inside the options provided in the import certificate fields.

Paste the content of www_mathstips_com.CRT file in the Certificate field and content of www_mathstips_com.ca-bundle in the CA/Chain Certificate field.
If the CA/Chain Certificate field isn’t there in the import certificate option, don’t worry, it can be automatically imported as well.
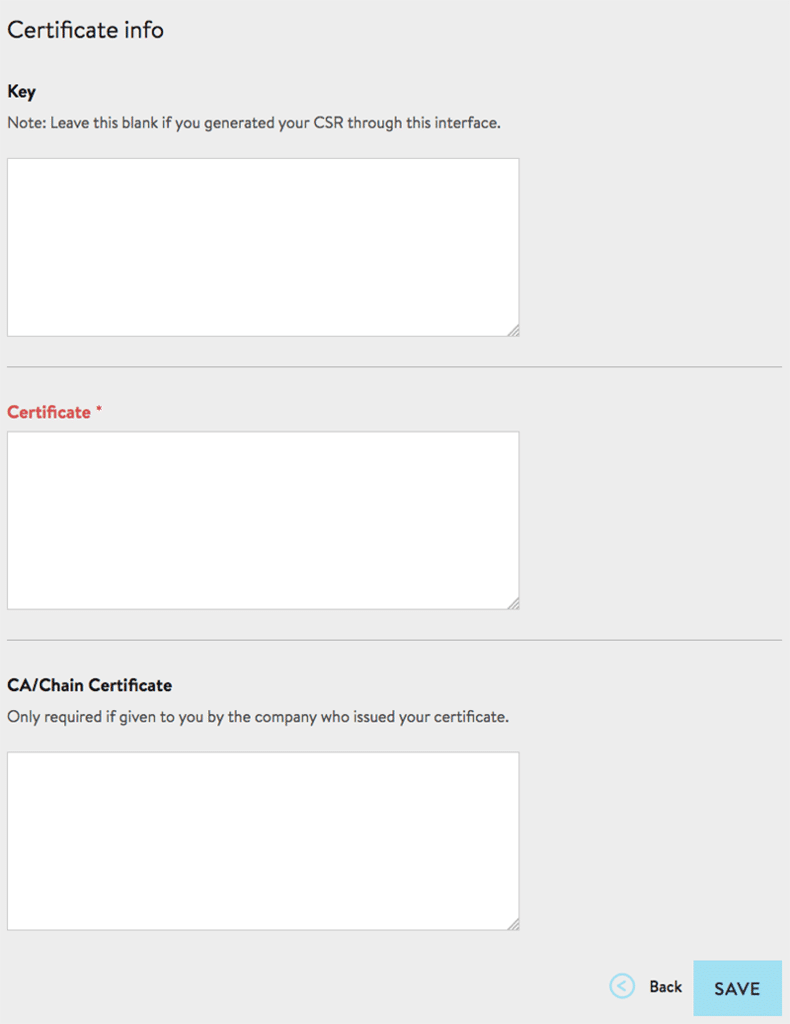
Make sure you copy and paste the entire content of the file including the —–BEGIN CERTIFICATE—– and —–END CERTIFICATE—–.
Once done, you should see a “Successfully Completed” message.
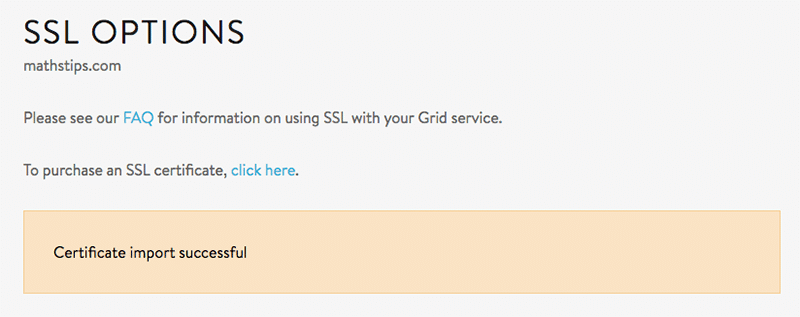
Final Touches
Now browse your site with HTTPS://YOURDOMAIN, and everything should work fine.
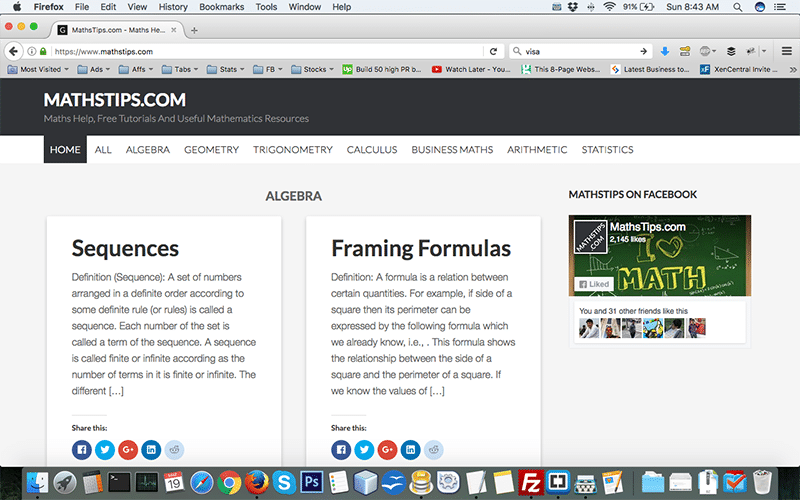
If you don’t see a green lock but see a yellow lock icon, it could be that some of the images, CSS, or even JS are being pulled from a nonsecure and HTTP based url. Change those url, and the lock icon will turn green.
Once everything seems to be working fine on HTTPS, you can change the settings in WordPress to use the HTTPS-based URL.
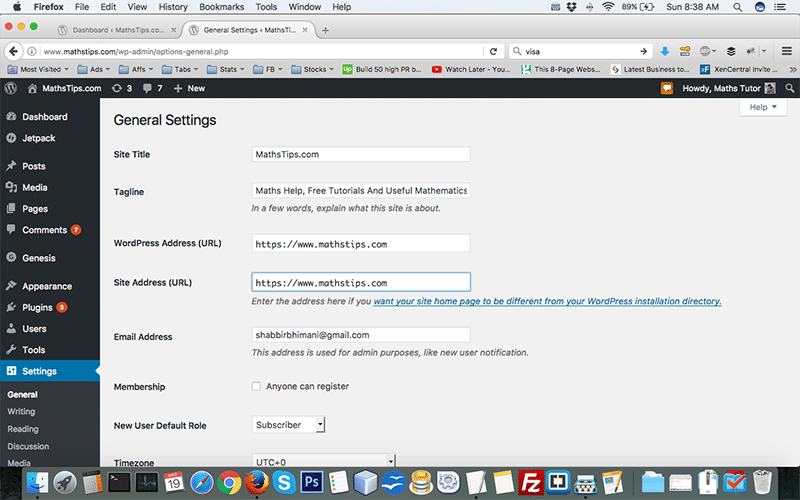
If your site’s url changes, you may lose Facebook share count. Here is an article by CognitiveSEO on how one can recover Facebook’s share count after moving from HTTP to HTTPS.
